

Dealing with acne doesn’t always look like a single pimple popping up here and there. Sometimes, acne pops up in clusters, especially if you deal with hormonal acne that tends to appear along the jaw, chin, and cheeks especially in clusters. These kinds of breakouts can look like groups of multiple blemishes on a single area or areas of the face.
Treating these breakouts can be tough with the typical circular blemish patches. If you did, you'd end up going through a whole pack really quickly and it's not the most convenient to patch up each individual pimple one-by-one.
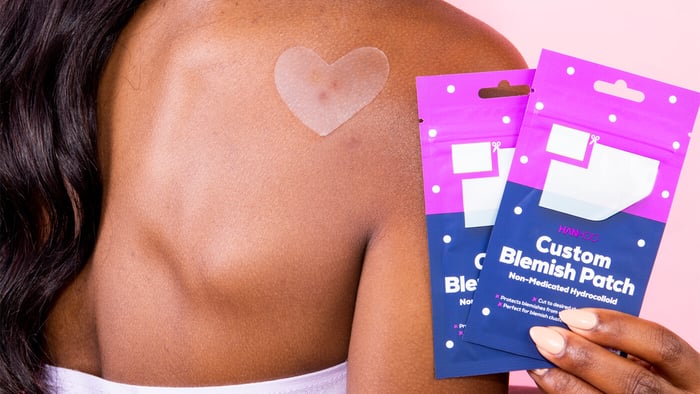
That’s where our Custom Blemish Patch comes in. This particular patch comes in a larger, rectangular size that makes covering blemish clusters so much easier.
What is the Custom Blemish Patch made of?
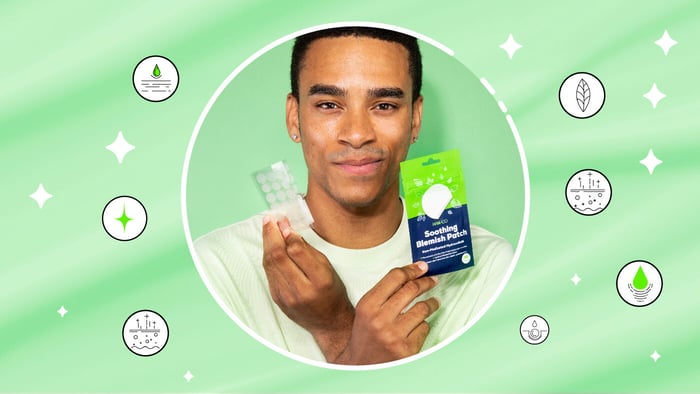
Just like our beloved original Blemish Patch, the Custom Blemish Patch is made of hydrocolloid. Hydrocolloid is a material that has long been used to help heal wounds because of its ability to create a moist environment that helps boost the healing process.
Made with hydrocolloid, the Custom Blemish Patch creates a moist environment around blemishes to help heal the spot while also sucking up the gunk that comes out of pimples. And, its larger shape makes it ideal for covering blemish clusters on the face and body.
Here’s a quick run down on hydrocolloid and its blemish-busting abilities:
➕Boosts healing time
🛡️Keeps the blemish safe from outside irritants
☝️Stops finger-picking
✨Absorbs pus and oil
Do’s and Don’ts
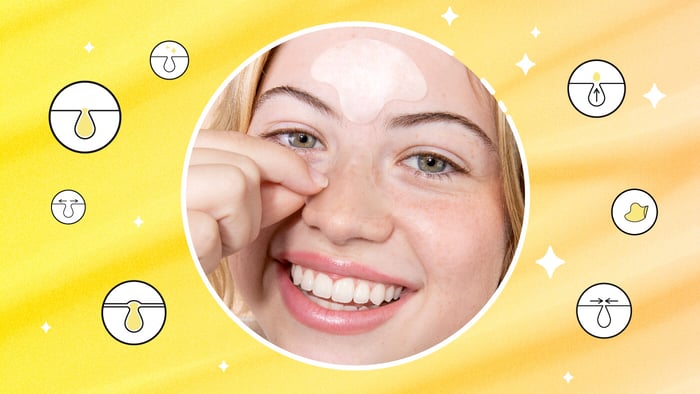
Each Custom Blemish Patch comes with 2 large patch sheets. But, you don’t have to apply the whole patch to a single area. Depending on the size of the blemish clusters, you can easily cut the patch into any shape you need.

To do this, follow these quick, easy steps:
- First, make sure that the skin is clean and dry
- Using clean scissors, cut the patch making sure to cut on top of the translucent film
- Remove the patch from the film then apply to the skin
- After the 6 to 8 hours are up remove the patch and replace if needed
Quick note: We recommend that when cutting the patch, you cut on top of the translucent film to keep the patch clean and to also to keep it from sticking to your scissors.
Now that you know how to best use the Custom Blemish Patch, you can cut to any shape (including heart, stars, and whatever other shapes you like). And, its larger shape makes it a whole lot easier to apply on bacne, chest acne, and even butt acne.
In conclusion…
If you typically deal with groups of pimples popping up together in the same area on your face or body, then the Custom Blemish Patch can prove to be a much easier solution than your usual blemish patches. You can use the patch sheet as is or cut it up to perfectly cover up a blemish cluster.
Although if you do use it on body acne, especially bacne, don’t forget to remove the patch after the 8 hours are up. We know how easy it can be to forget about the patch especially when you can’t see it.